
Toilet paper dispenser
⬤ Ready to ship

"Do-it-yourself" is the latest trend, so it's not surprising that more and more people want to build their composting toilet themselves. But how does that actually work? In this article, we take a closer look at the topic and give you numerous tips and tricks to make your do-it-yourself project a success. Have fun!
Whether self-built or prefabricated, composting toilets offer clear advantages over other solutions. The separation of solid and liquid excrement enables odourless use without water and chemicals. In addition, emptying and disposal are child’s play; a great thing, then.
If you are one of those people who would prefer to build your own composting toilet, you should definitely have some manual skills. Provided you meet this requirement, you can build a functional composting toilet yourself that is perfectly tailored to your personal requirements.
In the following, we will show you which preliminary considerations you should have, what you need and how you can build your own DIY composting toilet step by step.
First of all, you need to clarify a few basic questions and be clear about how and where you want to place your urinal:
These questions are important because space for the composting toilet is often limited. The dimensions then play a decisive role in your DIY project. You should measure relevant dimensions, for example a corner in your Tiny House where the finished composting toilet is to be placed later, or the boot of your car if you plan to store your composting toilet there for transport.
You should also consider the issue of comfort. How big should your composting toilet be so that you and other people can use it comfortably and sit on it?
As a rough guideline, you can use the dimensions of a conventional toilet in your bathroom at home, which are approximately 40x40x35 cm (HxDxW). Many people find this comfortable out of sheer habit. If these dimensions exceed the available space, it is necessary to find a compromise between space-saving design and comfort.
For a DIY composting toilet for outdoor use, you may also need an outhouse. Again, it is very important that you get the dimensions right so that your composting toilet fits inside the outhouse and can be used comfortably.
Once you know how big you want your composting toilet to be, you can start shopping for the necessary materials and parts. When looking for the right accessories, you will often find that you have to readjust your plans. Don’t let this discourage you. This is quite normal and part of the DIY process.
In the next section, you will find out what you need to build your own composting toilet.

After you have thought about how you want your DIY composting toilet to look in the end, you can start looking for the right parts.
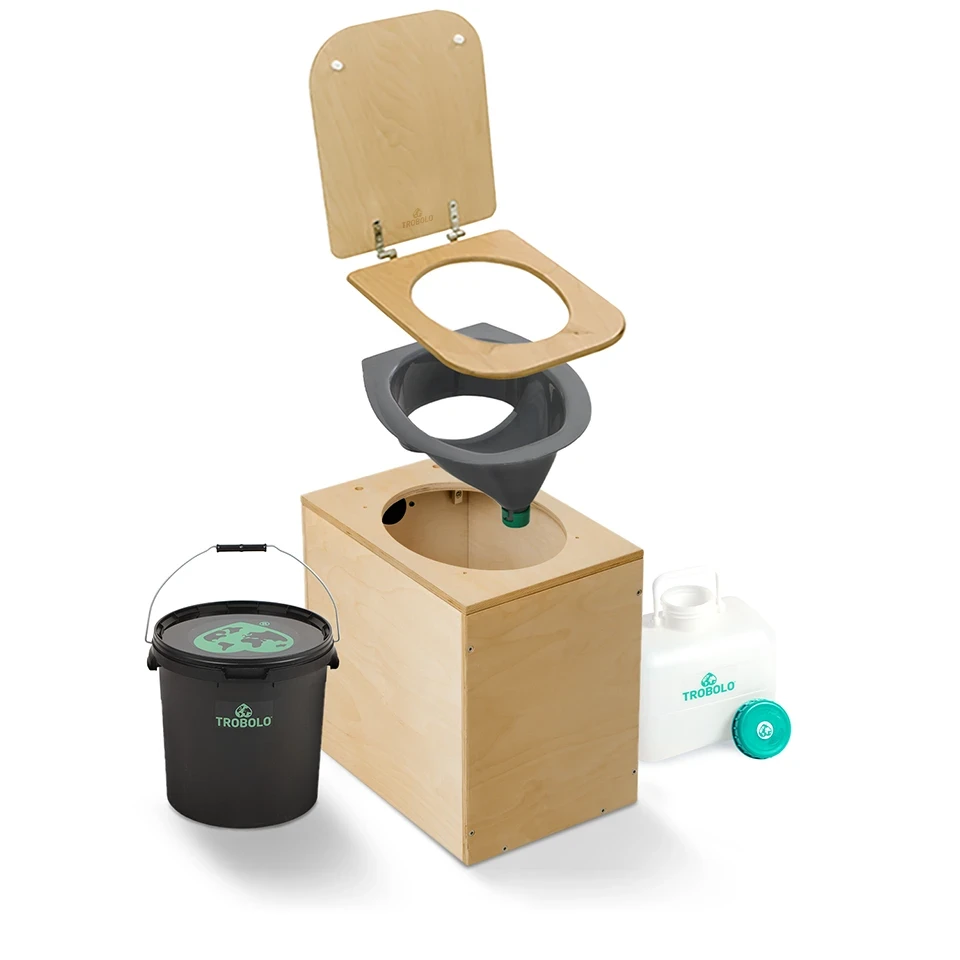
Specifically, you need a body that forms the basic structure of your urinal and gives it its shape. In addition, a urine diverter is essential to effectively separate the solids and liquids when using the toilet. For solid waste, you need a solids container. For liquid waste, you can either use a liquids container or urine drainage that directs the urine into the grey water tank of your motorhome, for example. You will also need a toilet seat.
Optionally, an electric or natural exhaust system is worth considering. Especially if you want to use your composting toilet for the long term, an exhaust system can be very useful and provide additional comfort.
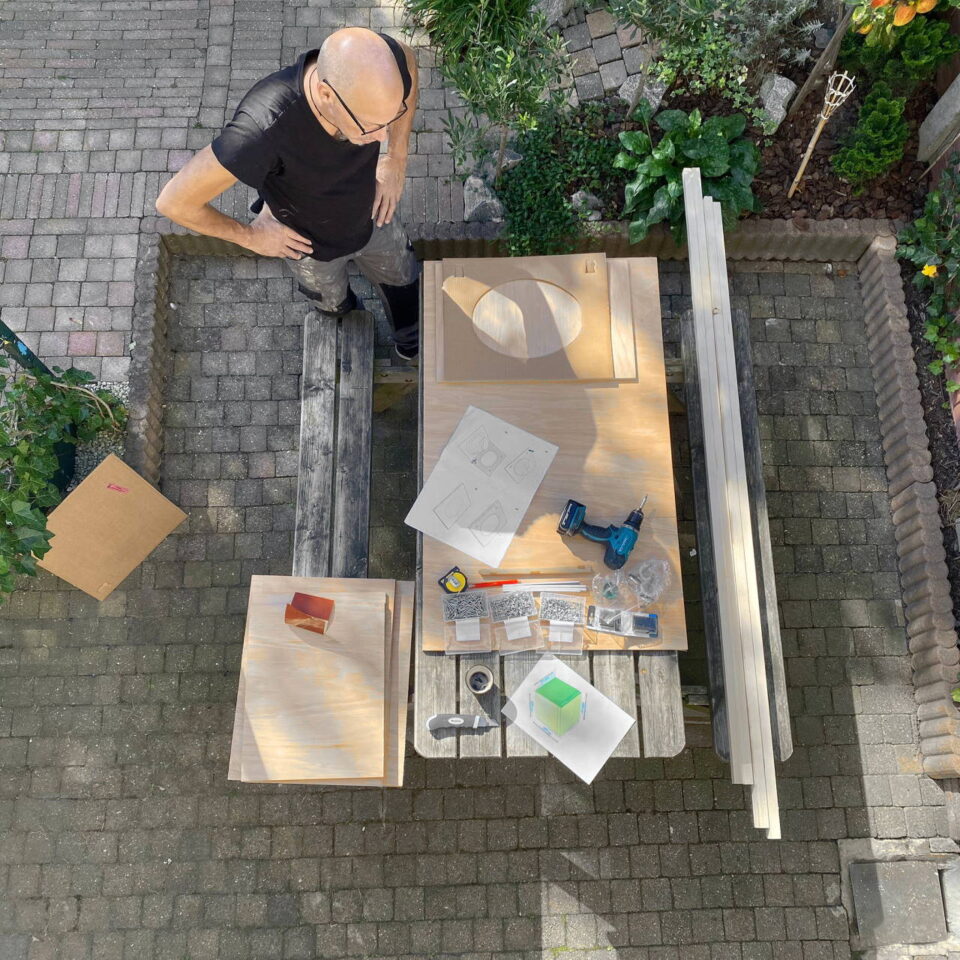
You will also need tools, glue and other aids to build your own composting toilet.
In summary, you will need the following individual parts and utensils to build your own composting toilet:
Below we give you detailed information on the individual components you need to build your composting toilet.
The toilet body forms the base of your composting toilet and is therefore a central building block. Most DIY composting toilets use a wooden toilet body. You can get the wooden boards you need at the DIY store.
If you want it to be 100% DIY, you can saw the boards to the size you need yourself. For an optimal result, an electric jigsaw or circular hole saw is suitable, but theoretically it is also possible to use a classic foxtail. Regardless of what kind of saw you use, you should know how to use the tool.
Remember that sawing has to be learned. If you have little or no experience in this area, we recommend that you have the wooden boards professionally cut, for example in a sawmill or directly from a timber merchant. Also think about a cut-out for the urine diverter and, if necessary, another cut-out for an exhaust air system.
How many wooden boards you need depends on your individual ideas. A classic composting toilet consists of six wooden boards, four for the side walls and one each for the top and bottom.
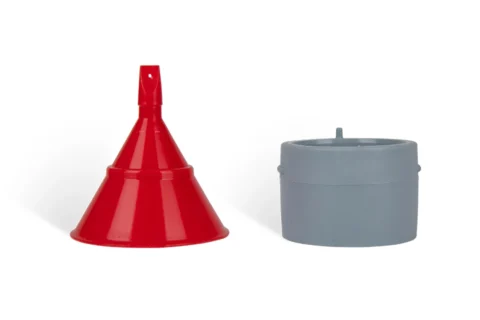
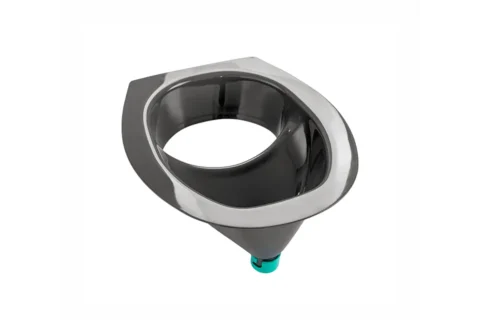
The urine diverter fulfils a basic purpose. It separates solid and liquid waste excretions and thus allows the composting toilet to fulfil its function. In fact, when it comes to the urine diverter, we definitely recommend using a professional solution, such as a urine diverter from TROBOLO, which is compatible with any standard toilet seat.
In our view, making your own urine diverter is not practical, as it is unlikely that anyone will be able to inexpensively make a urine diverter themselves that effectively separates solid from liquid excretions, regardless of the size of the person using the toilet.

When choosing the right toilet seat, make sure that it fits the size of your composting toilet and your urine diverter. Toilet seats come in different sizes, but for most DIY composting toilets, a width between 33 and 38 cm is ideal.
You will need a solids container to collect the solid waste. The size of the solids container should be neither too big nor too small. The larger the container, the more space it takes up. In addition, you want to be able to easily remove and empty the solids container. However, the solids container should not be smaller than the opening in the separator, and it should be at least large enough so that all solid waste enters the container without a problem and nothing can go astray.
If you want to build a particularly space-saving composting toilet, we recommend a container size of at least five litres, for example our 6.5 litre solids container.
For a medium-sized composting toilet, we recommend a solids container that can hold between 10 and 15 litres. Our 11 litre solids container would be a good choice here.
For a somewhat larger composting toilet, you can use a solids container with a maximum capacity of 25 litres. In this case, you are best served with our 22 litre solids container.
All of our solids container can be purchased as part of our DIY Set.
There are basically two options for dealing with liquid waste. The urine can either be directed into a liquids container inside your DIY composting toilet or drained outside via urine drainage, for example into the grey water tank of your motorhome.
If you opt for a variant with a liquids container, you should make sure that it works effectively in conjunction with your urine diverter. The opening of the liquids container should be large enough to fit the urine outlet of your urine diverter. This way, you can be sure that all liquid excretions are effectively drained into the liquids container and nothing can go astray.
As with the solids container, you should choose a size that fits your project. A smaller liquids container is easier to remove, but needs to be emptied more often. The opposite is true for a larger liquids container.
If you want to use our accessories, you can choose between our 4.6 litre liquids container and our 10 litre liquids container. Both containers are robust, can be closed airtight and can be purchased together with a solids container and urine diverter in our DIY Set.
With urine drainage, the liquid waste can be drained directly into an external waste water tank, for example into the grey water tank of your motorhome.
This method allows longer emptying intervals, but usually requires extensive emptying at a disposal station. Due to the longer intervals between emptying, it is also advisable to install an electrical exhaust system. This way, your composting toilet will remain odourless at all times, regardless of how often you empty it.
It is important to consider these factors, as you may find that a solution with a liquids container is more convenient despite the presence of a grey water tank.
If you decide to use urine drainage, it must be properly connected to the urine diverter and wastewater tank. Ideally, your urine diverter and wastewater tank have the same connection size, so that a hose of the appropriate size can be attached. If the connection sizes differ, you can get a suitable connection adapter from a specialty shop. You will need an adapter with the size DN32 to connect it to our urine diverter.
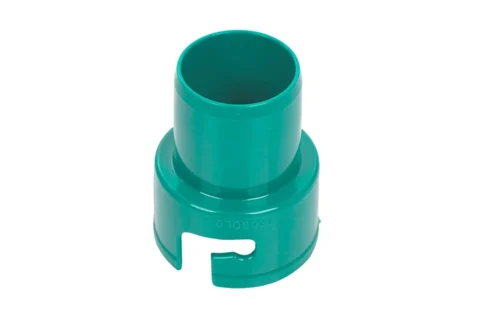
An exhaust system contributes to the odourlessness of your composting toilet and is especially advisable if you use your composting toilet continuously or very often. If you use an electric exhaust system, unpleasant odours are removed from your toilet by an electrically operated fan. In this case, you do not need to use litter. An electric exhaust system with flexible connection options is worth considering. A solar panel or a power bank can also be used for the power supply.
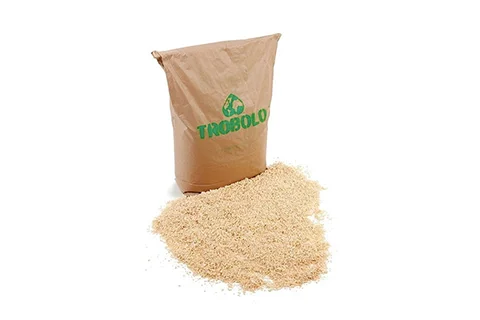
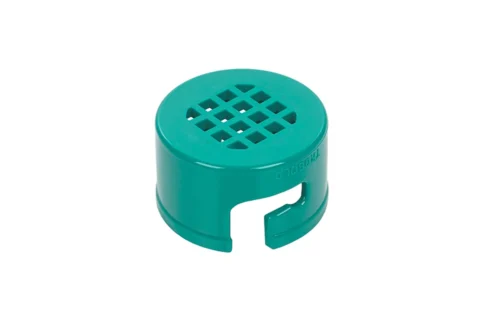
Alternatively, it is also possible to install our natural exhaust air system that works without electricity and automatically discharges odours to the outside via the chimney effect. When using a natural exhaust system, you should additionally use litter for absolute odourlessness.
Our exhaust air system from TROBOLO has a size of DN50. You therefore need a corresponding opening on your cabinet to attach the exhaust air system. The body from our DIY configurator has such an opening as standard, which is closed with a lid and can be used if required.
If you only want to use your composting toilet once in a while, for example at the weekend in your garden shed, you can do without an exhaust system and instead rely on the sole use of litter.
Not sure if you need an exhaust system yet? No problem, you can start with litter and upgrade your composting toilet with an electric or natural exhaust system if needed.
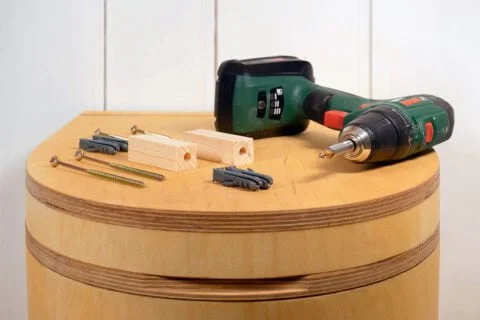
If you want to build your composting toilet yourself, you will need some tools, possibly glue and other small parts, such as screws, nuts and the like.
Basically, you should consider whether any of the following things are relevant for building your composting toilet yourself:
What exactly you need depends on your individual project, so we cannot give any general guidelines here. For example, not every adhesive is recommended for every type of wood. You have to find exactly what you need for the materials you have chosen.
We offer a DIY set so that you don’t have to go to the trouble of finding all the individual building components.
With these DIY sets, you can make your own construction easier and also benefit from our discounted set prices:
Now it’s time to get down to business. Our step-by-step instructions will help you build your own composting toilet and serve as a source of inspiration for your DIY project.
You can download our assembly instructions and use them as a rough guide to design your wooden body.
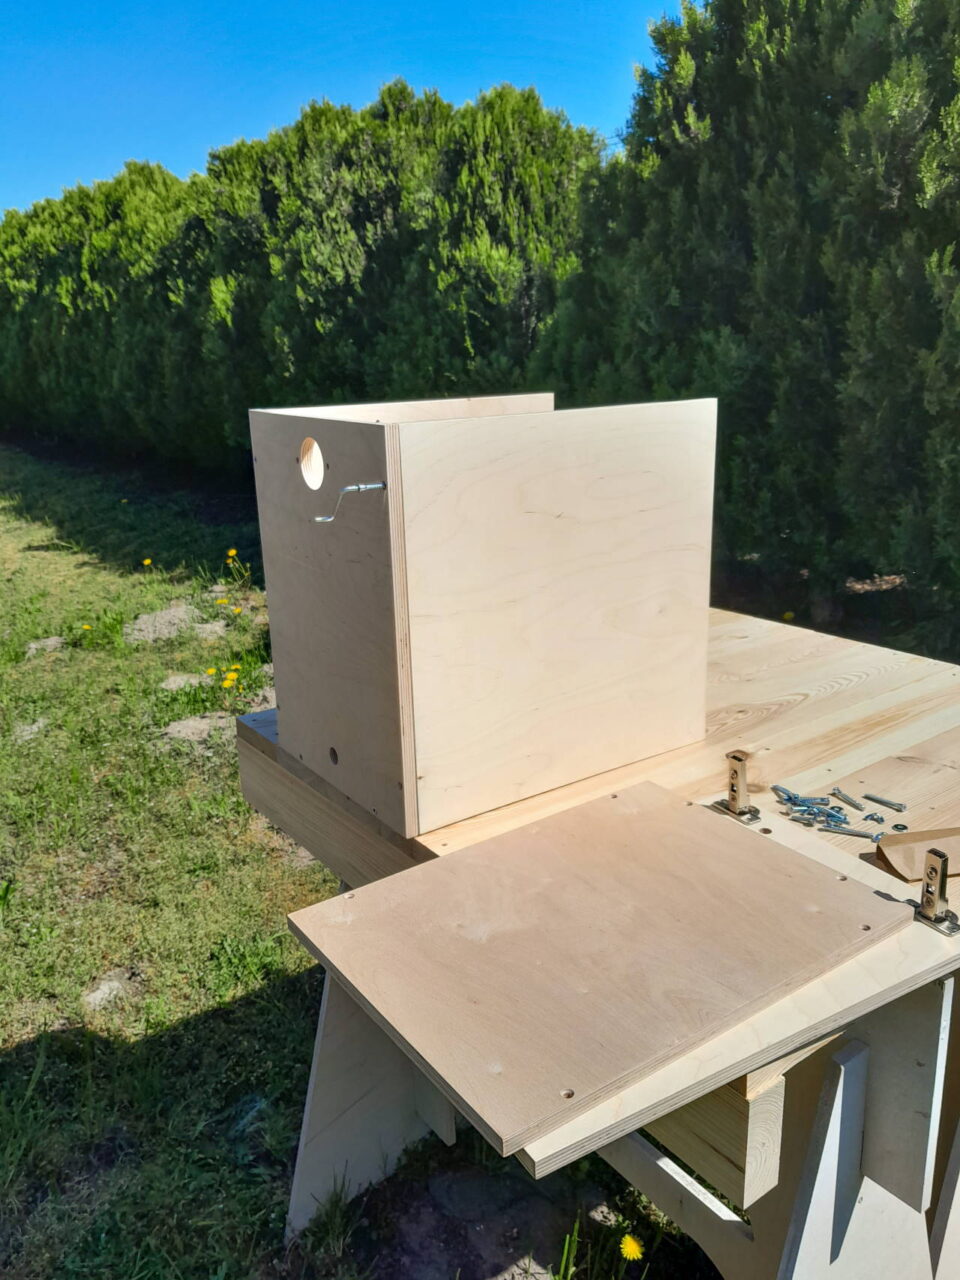
In the first step, you should make the toilet body from the wooden boards you have bought. If the boards are already the right size, you can now join them together.
Start by gluing the bottom and the sides together, for example with wood glue or glue. It is important that the glue is suitable for the material you have chosen. Alternatively, you can screw the boards together or use a combination of gluing and screwing. A fork joint is also possible, but requires precise woodwork and additional effort.
The last wooden board, i.e. the one with the slot for the urine diverter, should only be fitted after you have installed the urine diverter. We will explain how to do this in the next step.
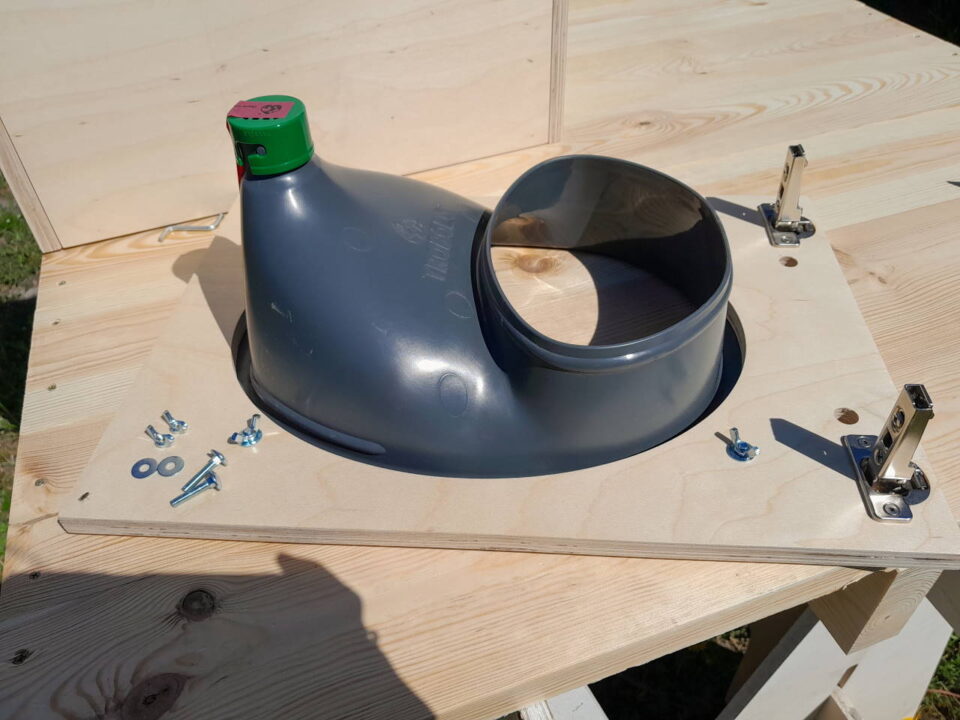
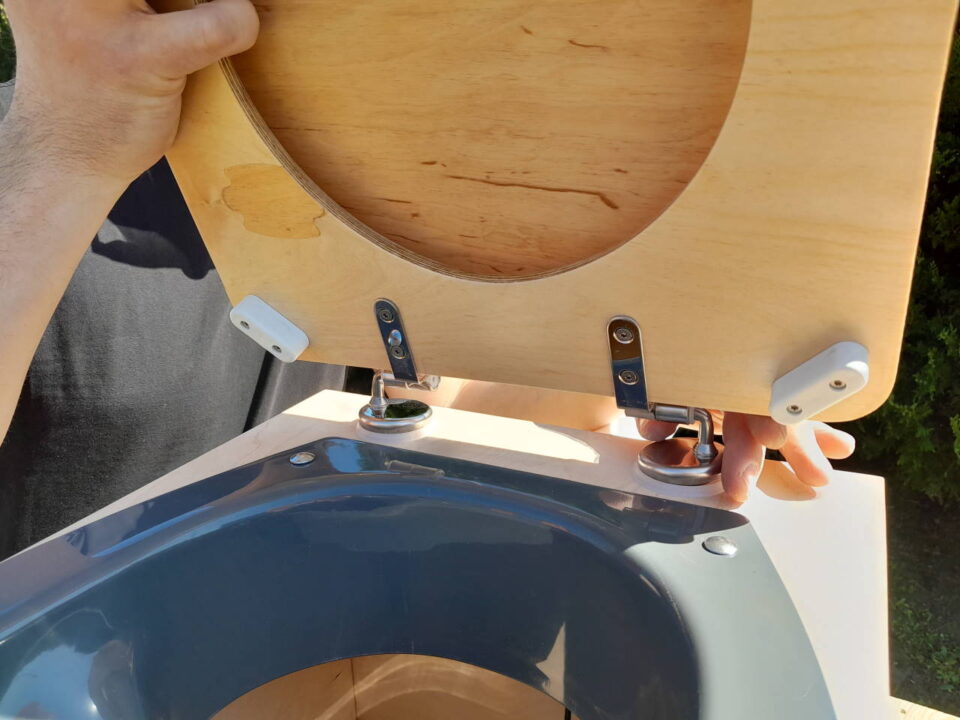
Now it’s time to mount the urine diverter. The urine diverter must be connected to the wooden board provided for it so that your DIY composting toilet can later fulfil its purpose. When mounting the urine diverter, you can either use a suitable adhesive or a simple screw connection.
You can then attach the wooden board and urine diverter to the wooden body. Ideally, you should attach this wooden board with hinges so that it can be easily folded up to allow easy removal of the containers.
Alternatively, it is also possible to simply place the wooden board on top and remove it each time to take out the containers. If you choose this option, additional supports on the wooden board can prevent it from slipping when it rests on the toilet body.
The next step is to attach the toilet seat. You will probably use a standard toilet seat. Fitting is usually relatively easy and everything you need is usually included when you purchase a toilet seat.
You’re almost there! If you’ve made it this far, you’re unlikely to have much trouble inserting the containers. Simply open your composting toilet by folding up the top wooden board with the urine diverter and toilet seat, and place the solids container and liquids container in their designated places.
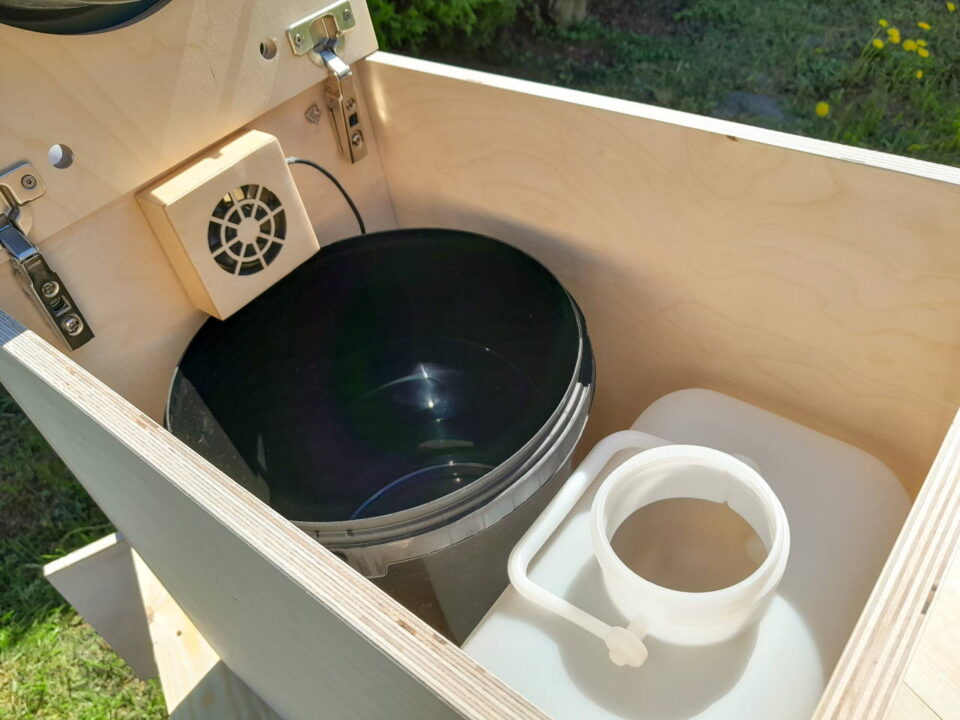
An exhaust system is not always necessary, but if you have chosen one, now is the time to install it.
Ideally, you will already have prepared a suitable opening, so all you need to do is attach and secure the exhaust system.
If not, you should now drill or saw an opening for the exhaust system in the wood. The opening should be the same size as the exhaust pipe so that the exhaust system fits exactly. It is best to use the pipe to draw a border on the wood. This will give you exactly the right size for the opening.
If you have a drill, you only need the appropriate drill or saw attachment to complete your project. The following attachments are usually best:
Alternatively, you can have the hole made with professional help and contact a carpenter or sawmill, for example.

You’ve done it – your DIY composting toilet is finished! You can be proud of yourself, because building a DIY composting toilet is quite challenging.
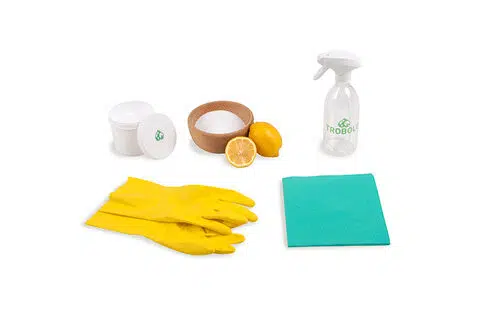
We have a lot more useful tips for you, for example how to clean your composting toilet, how to optimally empty and dispose of it and how to compost toilet waste properly.
If you have any questions, please feel free to contact our customer service for individual advice on your project.
Sign up for our newsletter here to never miss out on any news or free promotions.

You might also be interested in
"Do-it-yourself" is the latest trend, so it's not surprising that more and more people want to build their composting toilet themselves. But how does that actually work? In this article, we take a closer look at the topic and give you numerous tips and tricks to make your do-it-yourself project a success. Have fun!
Read more
Below you will find information on functionality, areas of application as well as advantages and disadvantages of separating and dry toilets.
Read more
In this guide, you will find information about the functionality, areas of application as well as the benefits and disadvantages of chemical toilets.
Read more¡Tenemos buenas noticias! Aunque gran parte de nuestro contenido todavía esté en inglés, ya hacemos envíos a tu país. Solo tienes que hacer el pedido y los productos te llegarán directamente a casa.
De acuerdoBuone notizie! Anche se la maggior parte dei nostri contenuti è ancora in inglese, spediamo già nel tuo paese. Fai un ordine e ricevi i prodotti direttamente a casa tua.
D'accordoVi har gode nyheder! Selvom det meste af vores indhold stadig er på engelsk, sender vi nu til dit land. Du skal bare afgive din ordre, så bliver produkterne leveret direkte hjem til dig.
ForståetWe hebben goed nieuws! Hoewel het meeste van onze inhoud nog steeds in het Engels is, verzenden we nu naar uw land. Plaats uw bestelling en de producten worden direct bij u thuisbezorgd.
BegrepenYou are currently viewing a placeholder content from Facebook. To access the actual content, click the button below. Please note that doing so will share data with third-party providers.
More Information